Friday, June 29, 2007

Our First Accessory

One of the first things I knew we needed was a sturdy step to get into the T@B. I had looked around the various RV parts places and at the Big Box stores and the only thing I felt was sturdy enough was almost $100.
So, I decided to build my own. I still need to sand and paint it, but here is our step stool for the T@B.

We used a 2x10x8 board. The platform is two pieces of 2x10x2, and the verticals were made by cutting the remaining 2x10x4 into two pieces on a diagonal. Then I got some right angle braces and a scrap piece of 2x4 to make it good and sturdy. I also placed a piece of outdoor carpet on the top screwed down with some washers to keep the screws from pulling through the fabric.


Bringing the New T@B Home

We have joined the ranks of T@B Owners!!

(100 Miles)

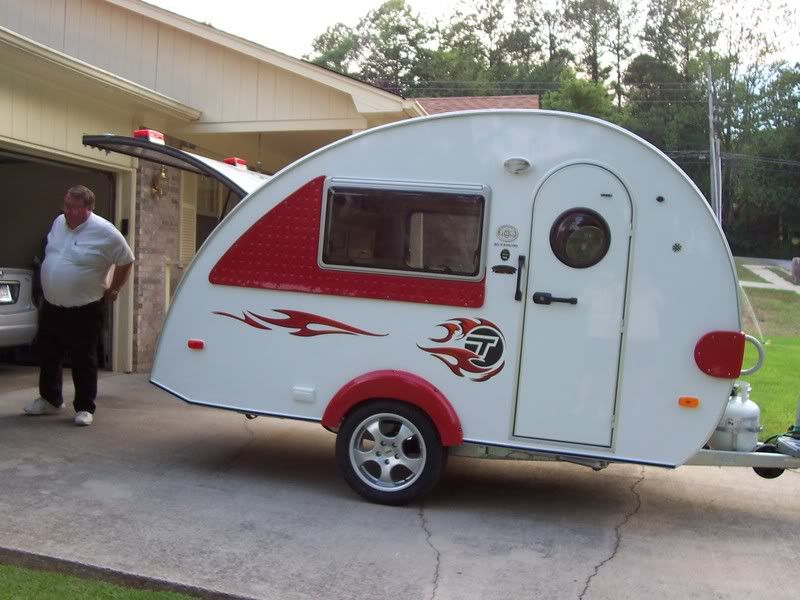
On Saturday, June 23rd, we purchased a 2007 White with Red Fireball Graphics Package Clam Shell T@B.

Now the colors were not our first choice, but it did have the mechanical options we wanted such as Cool Cat, no furnace, TV-DVD unit, and 12-volt fridge, but saving several thousand dollars over MSRP on an ordered unit, we figured we could paint the trim and replace the graphics for a lot less than that!!

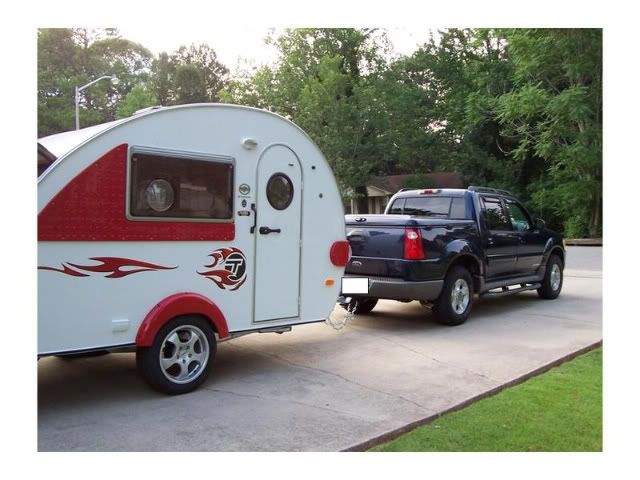
It was a long day (and very hot!!), but thankfully about 4pm, we finally pulled out of there and headed home with the MOUSE-KE-T@B. My tow vehicle, a 2002 Explorer Sport Trac did really well on the drive home, even over the mountains on I-24 and US 72 heading from Manchester to our home in Madison, AL

Photobucket

Here is our new T@B in the driveway as purchased from Scenic Roads RV Center in Manchester, TN.

Here is the T@B and my tow vehicle: Photobucket