Sunday, August 26, 2007

August 24 - 26 KOA Cleveland, TN Ocoee Whitewater Rafting

2nd Outing in the MOUSE-KE-T@B and my first solo outing. I picked up the T@B from storage on Thursday evening, loaded her up and was able to leave work at 1100 on Friday, so was on the road by noon. The Boy Scout Troop I volunteer for was going Whitewater Rafting on the Ocoee, so as their BSA Lifeguard, I tagged along. Instead of tent camping with them at the National Park, I decided this was a great opportunity for another T@B outing. I booked the KOA in Cleveland, TN and met the Troop at the Outfitter for rafting. The KOA was OK, actually kind of bland, but it met my needs. http://www.koa.com/where/tn/42111/ I had a pull through site, so I didn't have to back in. The site had electric, water, and cable. It also had wireless internet which I didn't use because I have a Verizon Air Card provided by work for my laptop. I didn't bother with the cable as I brought a good book and a couple of movies. The pool was quite nice for a refreshing dip after setting up. The laundry room and bath house were both quite nice and everything worked well. Once nice touch is that the host actually leads you to your site in a golf cart. So on to the pictures.

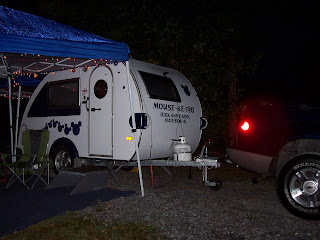
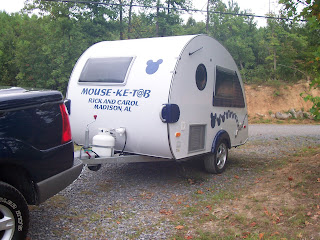
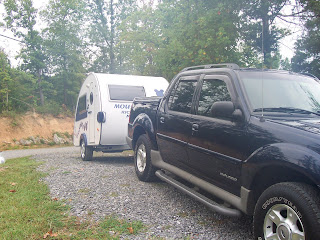
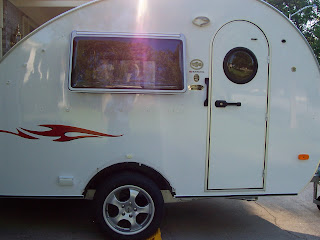
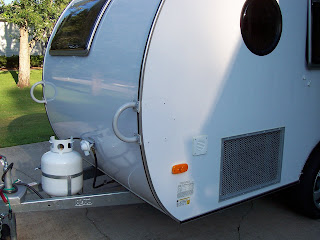
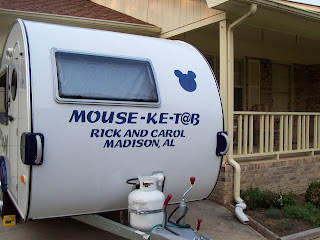
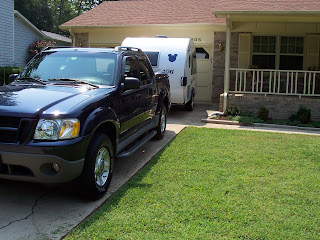
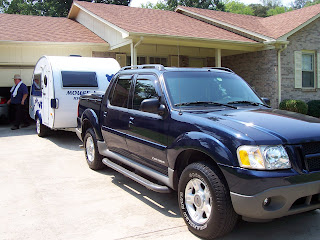
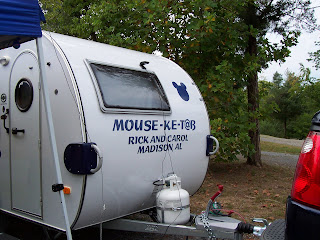
All hitched up ready to go.

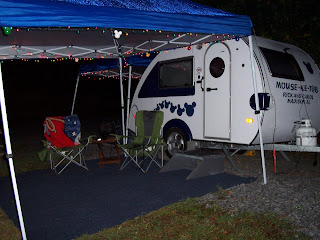
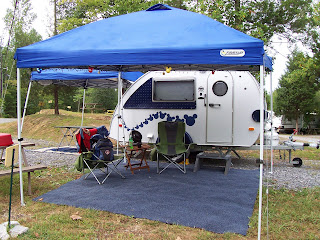
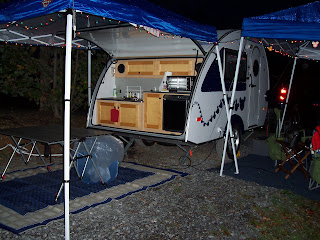
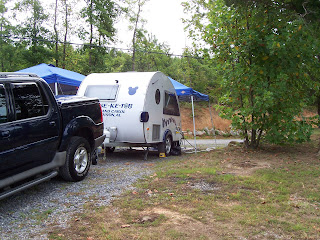
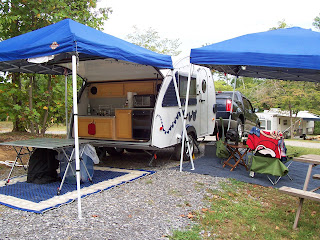
All set up at the site. Lots of gravel, and very hard to get a stake in the ground.


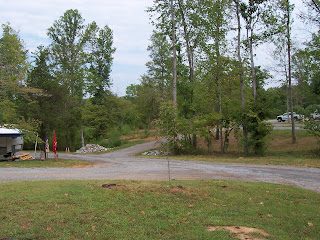
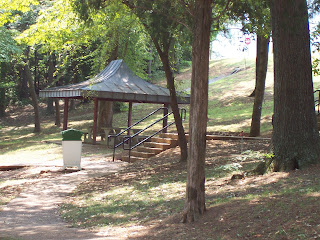
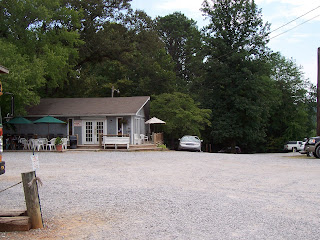
Just a general shot of some of the layout of the campground.

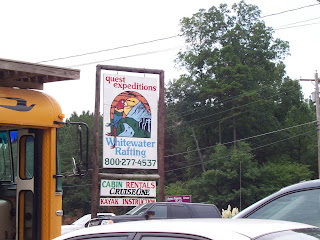
We used Quest Expeditions as the Outfitter for the Whitewater Trip. We did the upper Ocoee, also known as the Olympic Run. That was really fun. Several Class 4 Rapids and 1 Class 5.
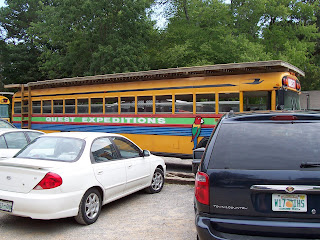
I don't have any pictures of the actual river as my camera is not set for water, and they wanted an arm and a leg for trip pictures. After the rafting, I followed the Scout Troop to their camping area, and had hamburgers with them. Cherokee National Forest actually has some nice group camping areas and a few water/electric sites. They charge $20 a night for the improved areas, however the site they stayed at was 7 miles up a very windy and steep road. Really glad I decided to stay at the KOA. Not quite ready to pull the camper up a road like that.
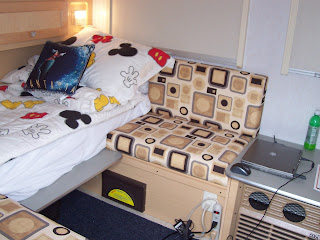
A picture of the inside all made up for 1 person.
All packed up on Sunday.


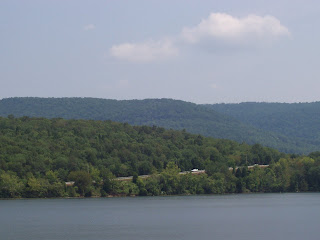
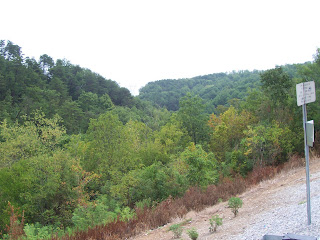
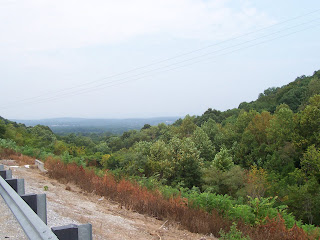
I stopped at a scenic Overlook off of I-75 near Chattanooga


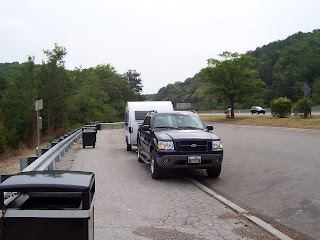
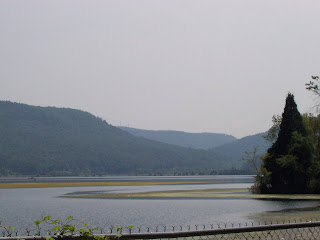
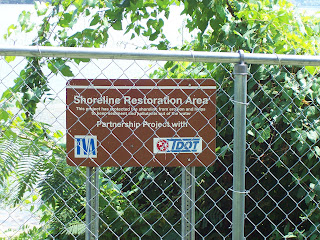
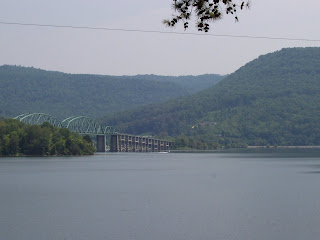
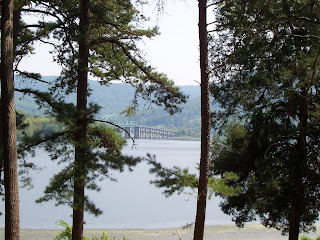
I stopped at a Rest Stop off of I-24 near Pittsburgh, TN with a view of the Tennessee River.




I also had an opportunity to weigh the T@B on my way home. I kept it hitched and got 4940 for the truck and 1680 for the T@B for a total of 6620. I think I probably should have unhitched, but at least I know my total gross weight is well within my vehicle limits. If I get an opportunity next trip, I'll get it weighed again, and actually unhitch.

Thanks for reading!! Well, we have a flying/hotel vacation scheduled for September, so don't know that we'll be able to also take the T@B out for a weekend, so the next update should be my two week camping trip at Ft. Wilderness at Disney World in October!!
(300 miles)
Thursday, August 16, 2007

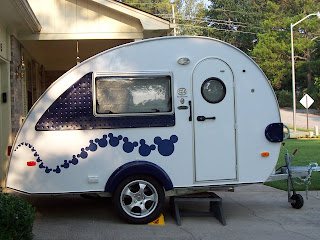
What Was Red is Now Blue and Mouse Ears Too!!!

As I've said several times, I really wanted the T@B to match my tow vehicle, so over the last few days we addressed this.

The first thing I did was take the handle trim off of and taped up the outside and test painted the inside and let it sit in the sun for two days to check for peeling/cracking, color match, etc.

It passed the test, so I pulled the camper home from storage and took the rest of the trim off.


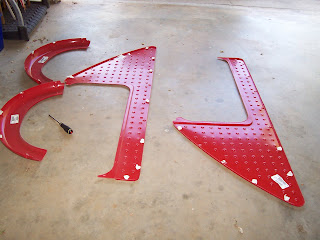
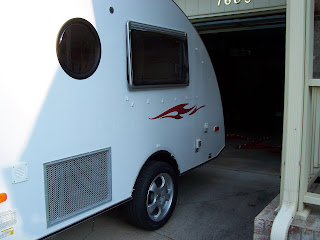
Here is what a Clam Shell looks like without trim.


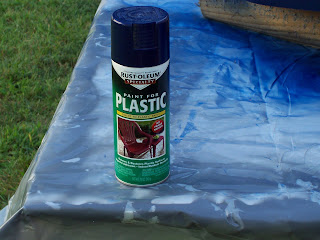
The paint we finalized on is Rust-O-leum for Plastic. That was the deepest blue of the brands of plastic paint I found.


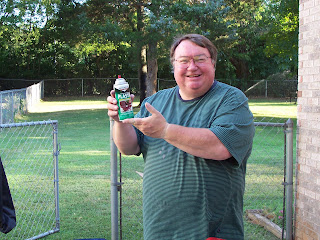
Rick being silly with the can of paint.

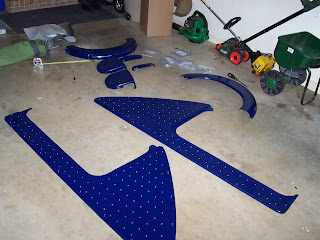
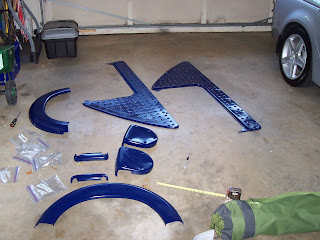
All the pieces drying on the garage floor.

Note the Zip Loc bags. I put the screws from each piece in it's own zip loc bag labeled for what piece and whether it was passenger or driver side.

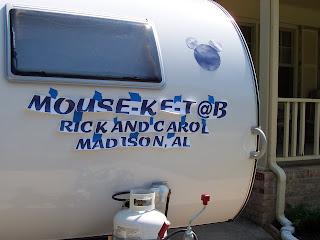
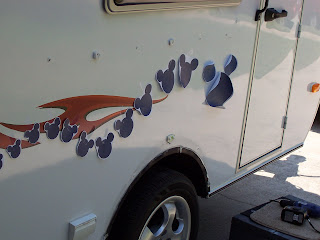
I also wanted to test to see if I could put my own graphics on the camper and have it come out straight and look good. So here are some tests with just cut out paper.


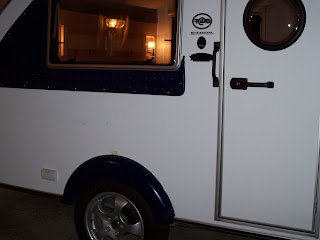
Here is a shot of the trim back on and the flames off.


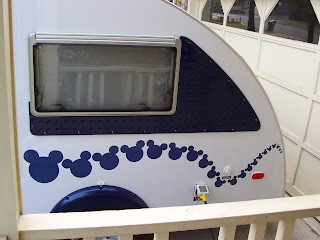
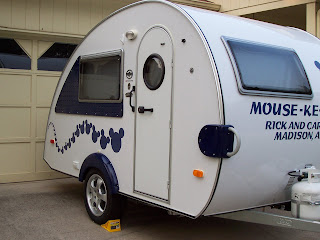
To do the graphics, I used PowerPoint to create the Mouse Ears and lettering and printed them on Avery White Laser Printer Labels, Full Sheet, 8 1/2" x 11", #5265. I have access to a high quality Canon Color Laser Printer, or else I would not have done this. Ink Jet printers just don't have the solid color printing ability. I covered the sheets with clear Con-Tac paper, then cut out each letter and set of of Mouse Ears individually.

To lay out the letters evenly I used lots of blue masking tape, a level and did lots of measuring.


Both Rick, myself and several folks around the neighborhood are really pleased with the results, so I've ordered a roll of blue vinyl adhesive specifically made for automotive graphics and a roll of the masking and will do it permanently when the stuff comes in.

Thanks for looking!!

Wednesday, August 15, 2007

Some Minor Adjustments

Here are some pictures of a few minor things I did to the T@B.

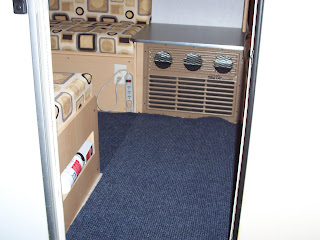
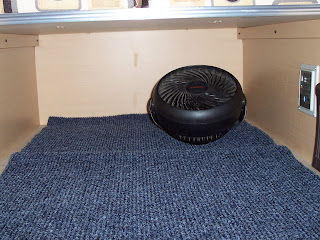
I bought a piece of indoor/outdoor carpet to make a larger rug for under the awning and had some left over, so I used that on the interior floor of the T@B.


I removed the base of the table to reduce weight and provide some storage room under the bed.


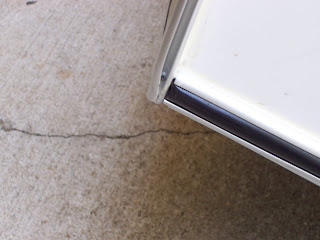
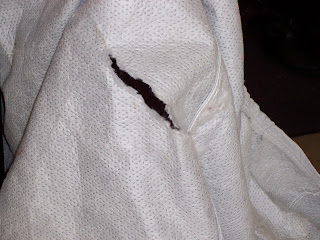
I discovered the bottom edge of the awning rail is very sharp. I took a file to the bottom edge of the rail to smooth it out.

It ripped a hole in my cover.


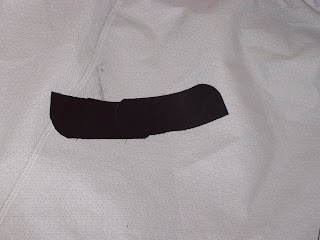
I used some iron-on patch material to repair the hole. It didn't stick very well, so I ended up sewing it on.


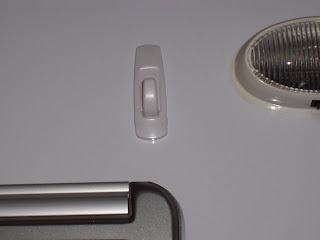
I installed a Command Adhesive hook on the outside of the T@B to hang my raingear on.


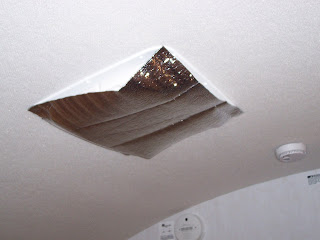
We had an old auto windshield shade from a car that we had sold, and it didn't fit the replacement car, so I cut a piece of it to fit over the vent fan, to help darken things up. I used velcro to attach it to the vent.

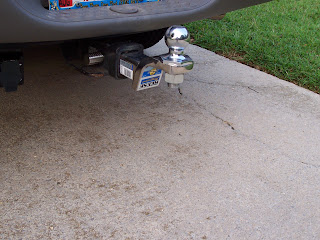
I got a new locking hitch pin to replace the one I lost and a new hitch bar with the ball mounted on the rise instead of the drop because my jockey wheel was scraping entering my driveway and the driveway of the storage place.


Coming tomorrow, what was Red is now Blue, and some Mouse Ears too.

Thanks for looking!

Sunday, August 12, 2007

Outside Speaker Switches

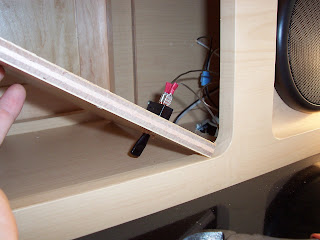
Today myself and my audiophile son installed a couple of cutoff switches for the outside Speakers on my Clam Shell.

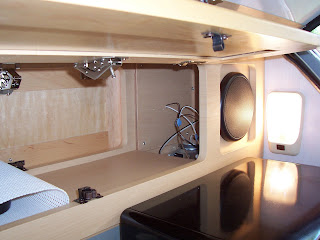
The first thing we did was open up the upper closet shelf again becuase I knew there were some speaker connections in there. When we disconnected one of the wires, instead of two speakers inside or outside turning off one inside left and one outside left turned off, so we had to go closer to the speakers to find where they split off.


We discovered a panel in the kitchen cabinets that revealed the speakers


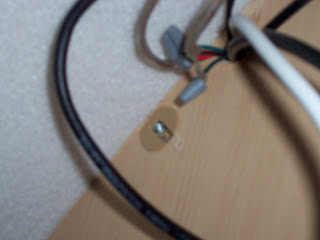
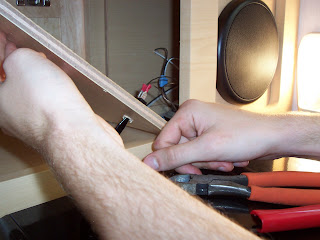
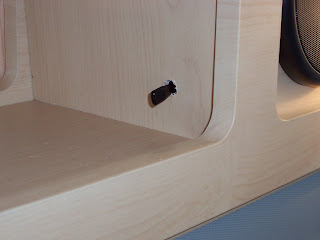
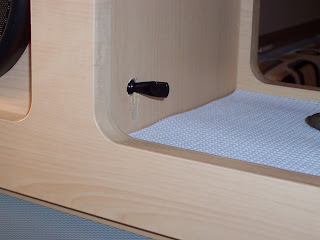
We cut one of the leads to the rear speaker, and attached a blade connector that matched the simple 12 volt switch purchased at Radio Shack and drilled a hole in the panel so the switch was accessible inside the cabinet.


We repeated on the other side. We set it so forward is off and back is on.


We found that it only helped reduce outside speaker sound a little bit when the hatch is open because the inside speakers are just in behind that panel facing down. However, when we are inside the camper, it actually improved the sound quality of the interior speakers. The switches and the blade connectors were less than $7.

Thanks for looking!!!

Carol & Rick
MOUSE-KE-T@B
2007 Clam Shell #2741