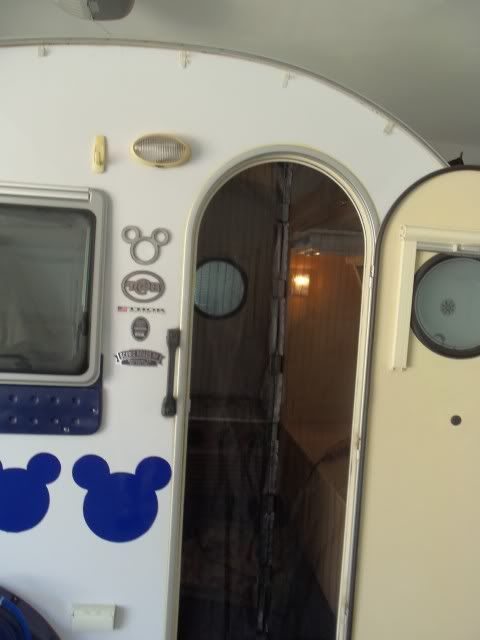
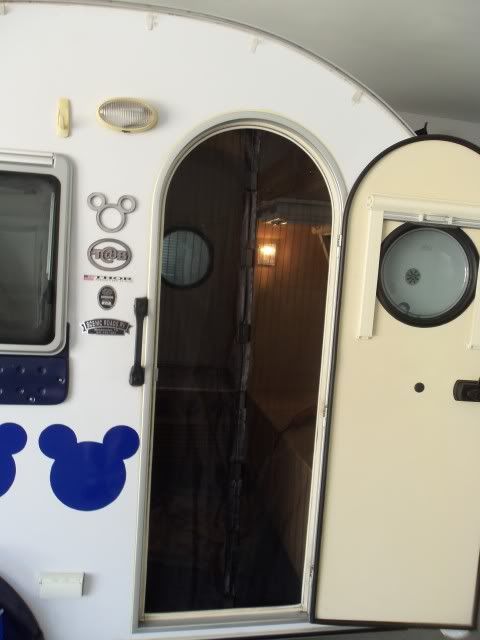
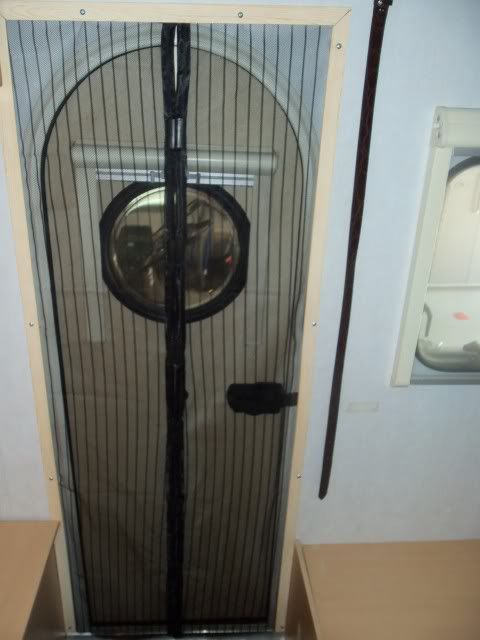
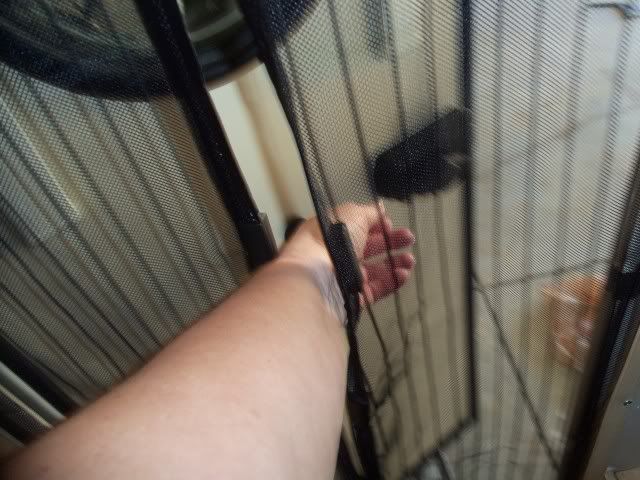
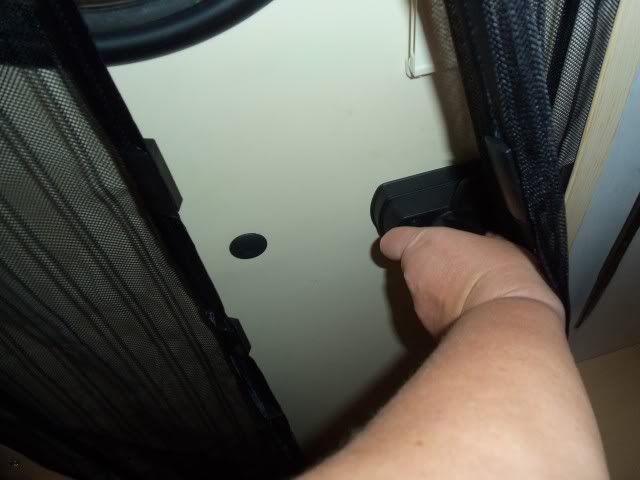
I got some 1-inch wide plastic trim in a finish similar to the interior T@B finish and a heavy duty Magic Mesh (as seen on TV).
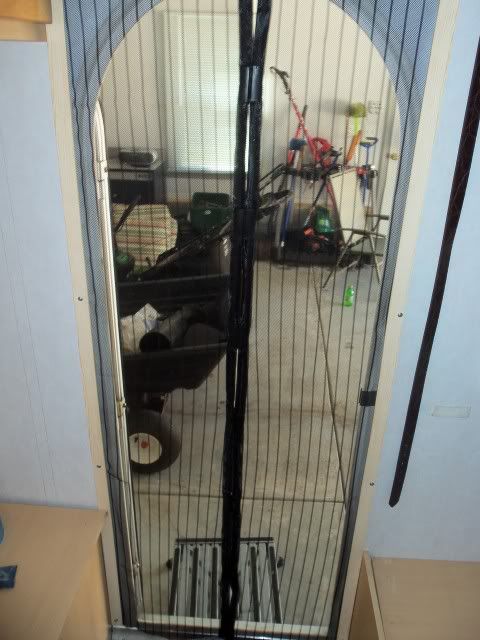
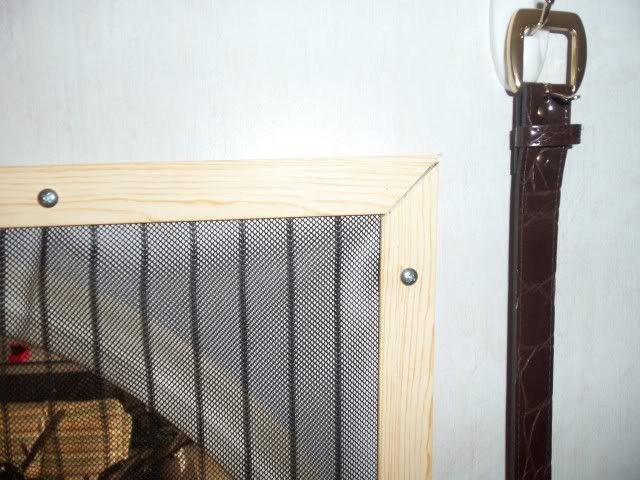
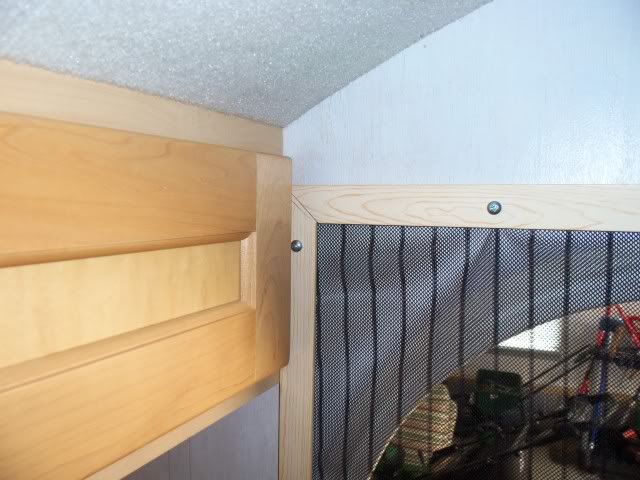
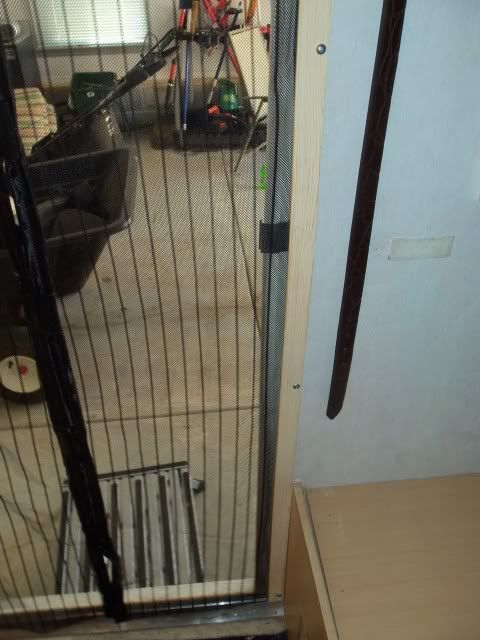
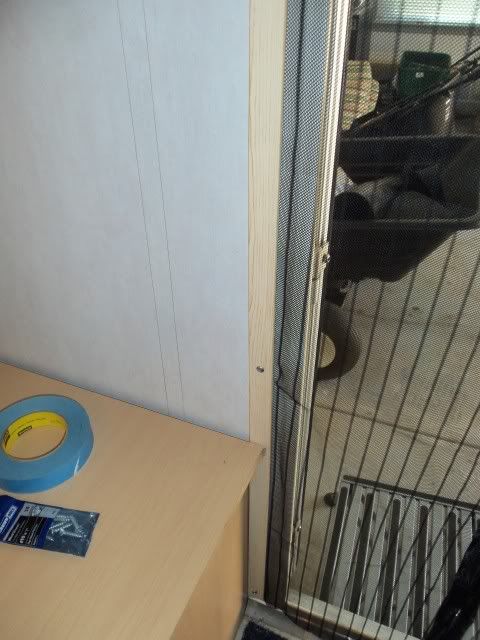
I measure and cut the trim to fit around the inside of the door and mitred the corners. Then I found the center of the top piece and stapled the Magic Mesh to the backside of the trim and cut off the excess on either side and bottom.
Then I taped the entire thing in place with blue painters tape and secured the trim around the door with 3/4" screws. I coated the screws with some Gorilla Glue before screwing in. I did use a drill to make pilot holes.
I had a couple of extra magnets from the material I cut off that I attached to the bottom for weights.
Thanks for readin!!!
Comin next Halloween at Disney World!!! (Yes, I know AGAIN!!)
1 comment:
I’ve been contemplating buying a Magic Mesh Hands-Free Screen Door for a few months, ever since I saw an ad for them on TV. As we entered spring and my boys/girls started playing outside more, I decided that we really should drop $14.99 for one of these things. My boys/girls are not great about remembering to close the door behind them and when they do, they tend to slam it. I had to do something or I would be irritated by this all spring and summer. I finally bought one last week and would love to share my thoughts with you.
magic mesh
Installation of the Magic Mesh is really quiet simple. It comes with two panels (in the screen) with magnets already placed along the seam. You start by measuring your door frame and marking the middle. Then you lay the screen panels down and place the Velcro strips along the top and outside seam of the panels.
Post a Comment